As someone who shoots in the streets or outside almost every day, I have gone through a pretty steep learning curve over the years and realized a lot of “dos” and “don’ts” of street photography. I did it the hard way – by trial and error. Luckily for you, you can now read this post and avoid at least some of the more common mistakes that I see often and God knows, I’ve made myself.
Looking at your screen after you take every picture
Digital photography is very much an instant gratification. You took a picture, and you can see it right away on the back of your camera. Those of us who used to shoot with film cameras usually don’t have that problem, but those who are transitioning from a phone camera to a real one are particularly prone to this.
Why is this a problem? Simple: in street photography, moments can be born every instance. As you will read later, if you are in a particularly good spot, you might have multiple interesting shot opportunities born very frequently. And if you waste seconds to check out each picture you took, you are at a risk of missing them. And I’ve seen it time and time again. When you shoot a rapidly changing street situation, you should really focus on composing your next shot, not on your screen.

“But what if I want to make sure the settings/histogram/light metering is ok?” Are you kidding me? Before you shoot anything, especially street, you should know your camera settings and set them up for the existing light conditions. Nobody cares about histogram anyway – any minor light metering imperfections can be easily corrected. And most importantly, you will not be able to tell it accurately on that small rear screen anyway. So shoot first, correct/adjust later – that’s my advice.
“But what if my camera only has a screen and no viewfinder?” First of all, shame on you – with the wide choice of cameras with viewfinders there’s almost no excuse in not having one unless the size is most important to you. Secondly, I’m kidding – it’s totally fine. Just don’t waste time between shots by checking out the quality based on your screen. Find a quiet minute and adjust your settings to be just right.
Not using your camera’s ISO potential
Almost all new modern digital cameras nowadays have the sensor quality that photographers, even professionals, couldn’t dream about 10 years ago. That means, among other things, that now you don’t have to worry about unsightly grain or pixilation on your images even at higher ISOs. Thus, you should not be afraid to use high ISO values on your camera.
How high can you go? Depends on a specific cameras, and there are cameras with 6-digit maximum ISO settings nowadays. While I would never use them that high, on my Sony A7rii, I am perfectly fine with using the ISO value of 1600 or even 3200, something I would have been avoiding like plague a few years ago. On your camera it might be different, but pretty much any camera now should have the capacity of producing images without noticeable grain at up to 800 ISO at least.
That is particularly important for street photography. Above I talked about not worrying too much about the light settings, which is true. But you should worry about sharpness, and if the conditions are darker, high ISO is your best friend. So don’t be afraid to push it way up when shooting in the street, especially after dark. In other words, it’s better to have a picture that is grainy but sharp than the one that is all smooth but blurry. Of course, sometimes you want need to lower your ISO deliberately to produce deliberate blur such as with panning, but that’s a conversation for another post.
Deleting photos based just on the screen preview
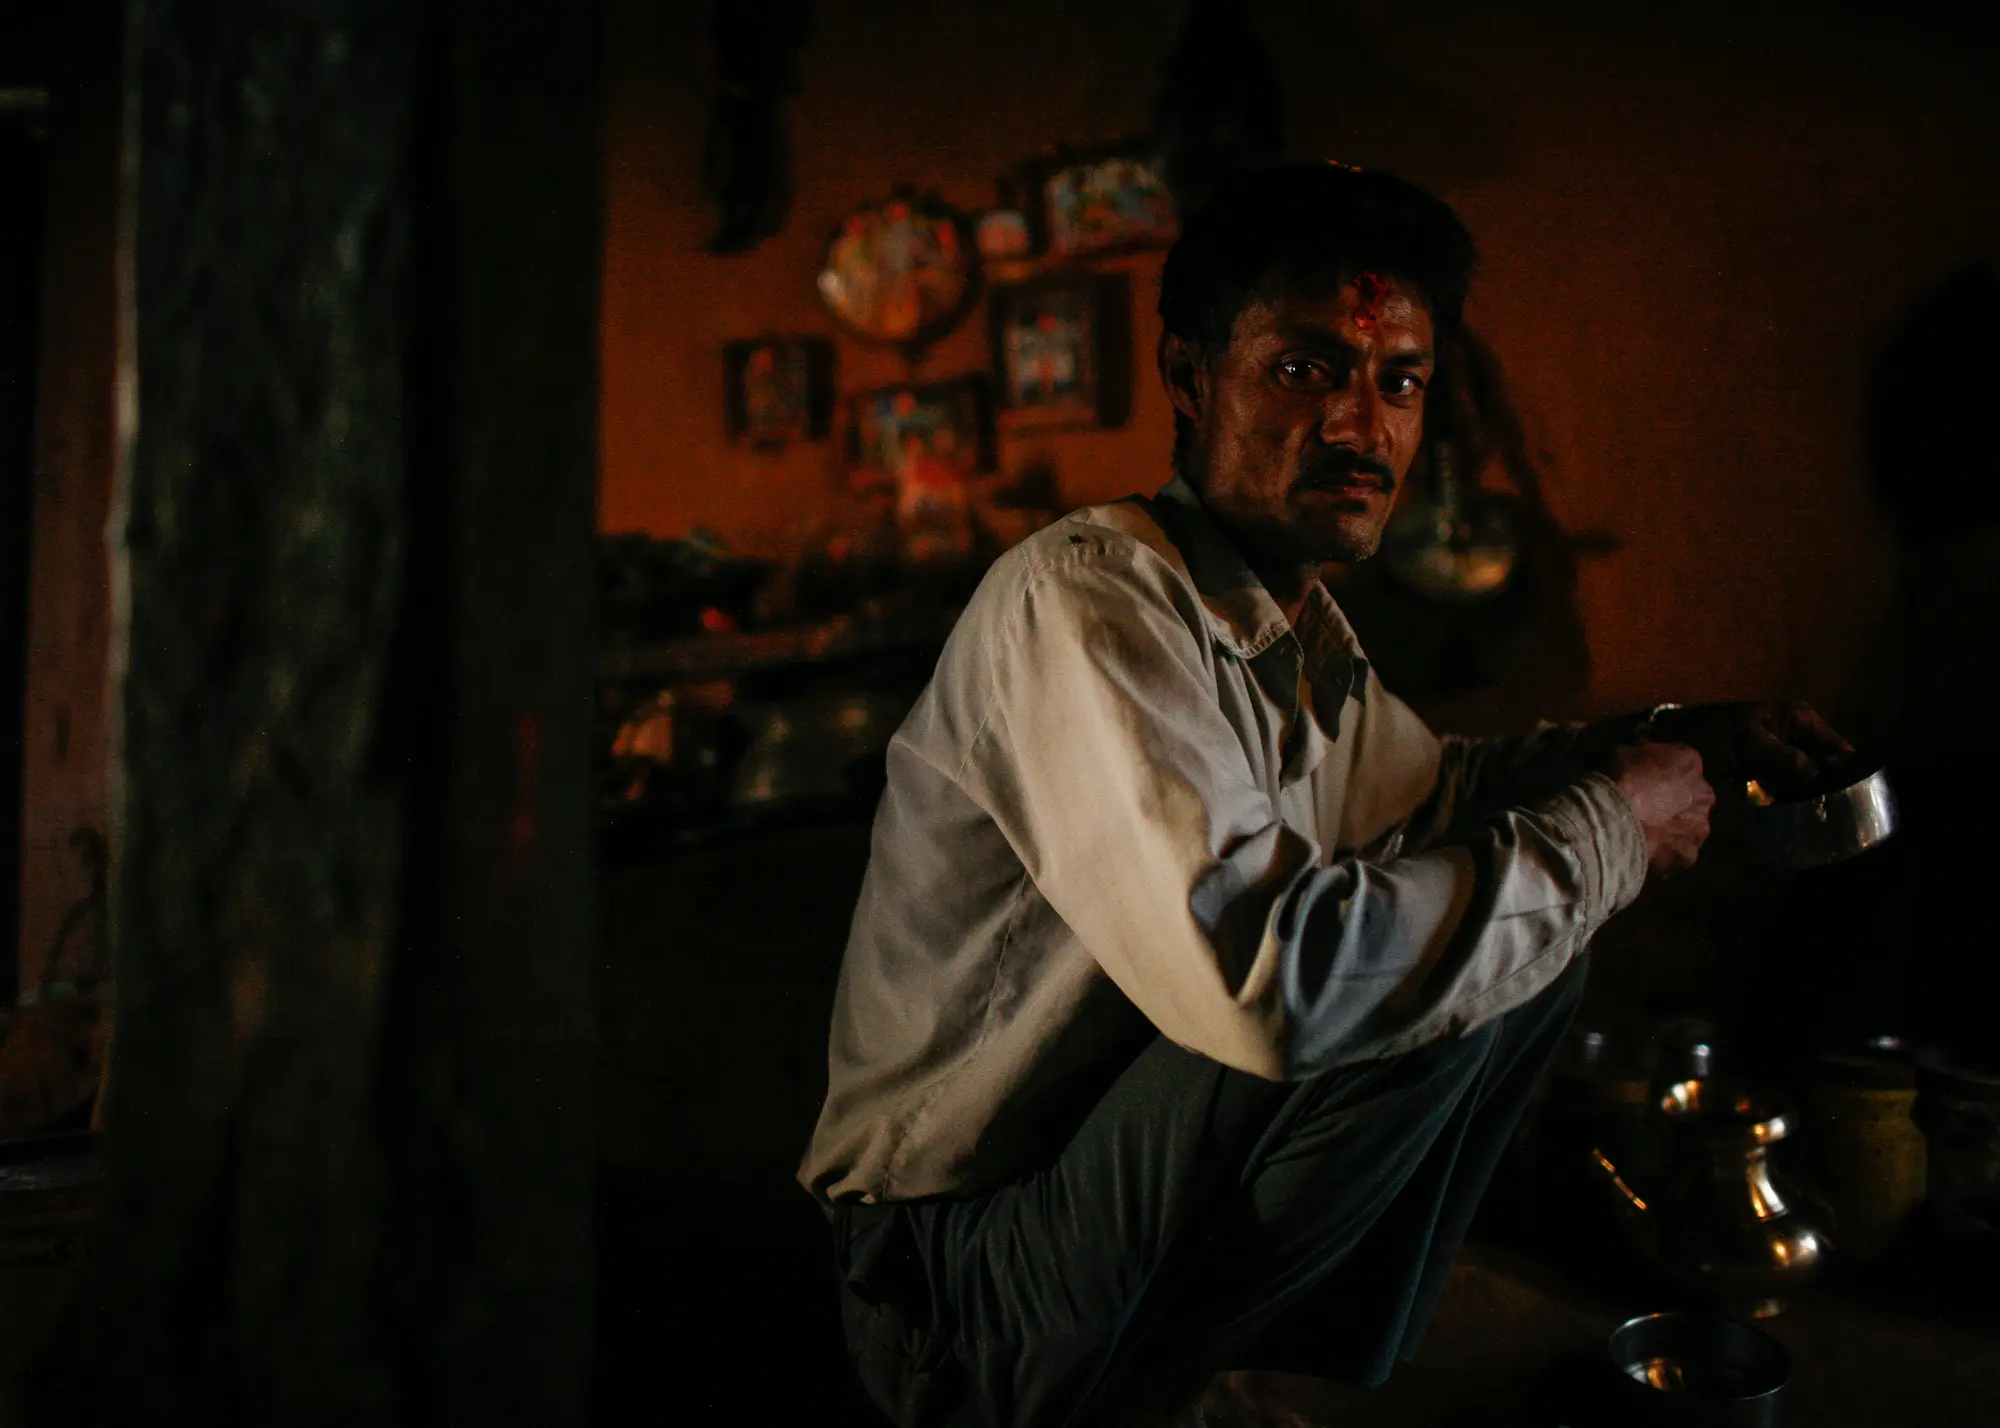
Let’s say, you did forget to adjust ISO or your hand moved or somehow you think the image is blurry based just on what you saw in the screen preview. Well, first of all, we already established that you shouldn’t be staring at your screen after every image. But most importantly, don’t delete pictures just because they seem inadequate on your screen.
Why? Because, apart from wasting the shooting time by deleting the image, you might actually accidentally delete something that is not bad. Remember what I just said about lowering the ISO to produce deliberate blur? Well, sometimes that artistic blur can happen by accident, and if your mind is set only for crispy sharp images, you might be tempted to delete something that is not, but when you come home and look at the slightly blurry image on your computer, you might think differently.
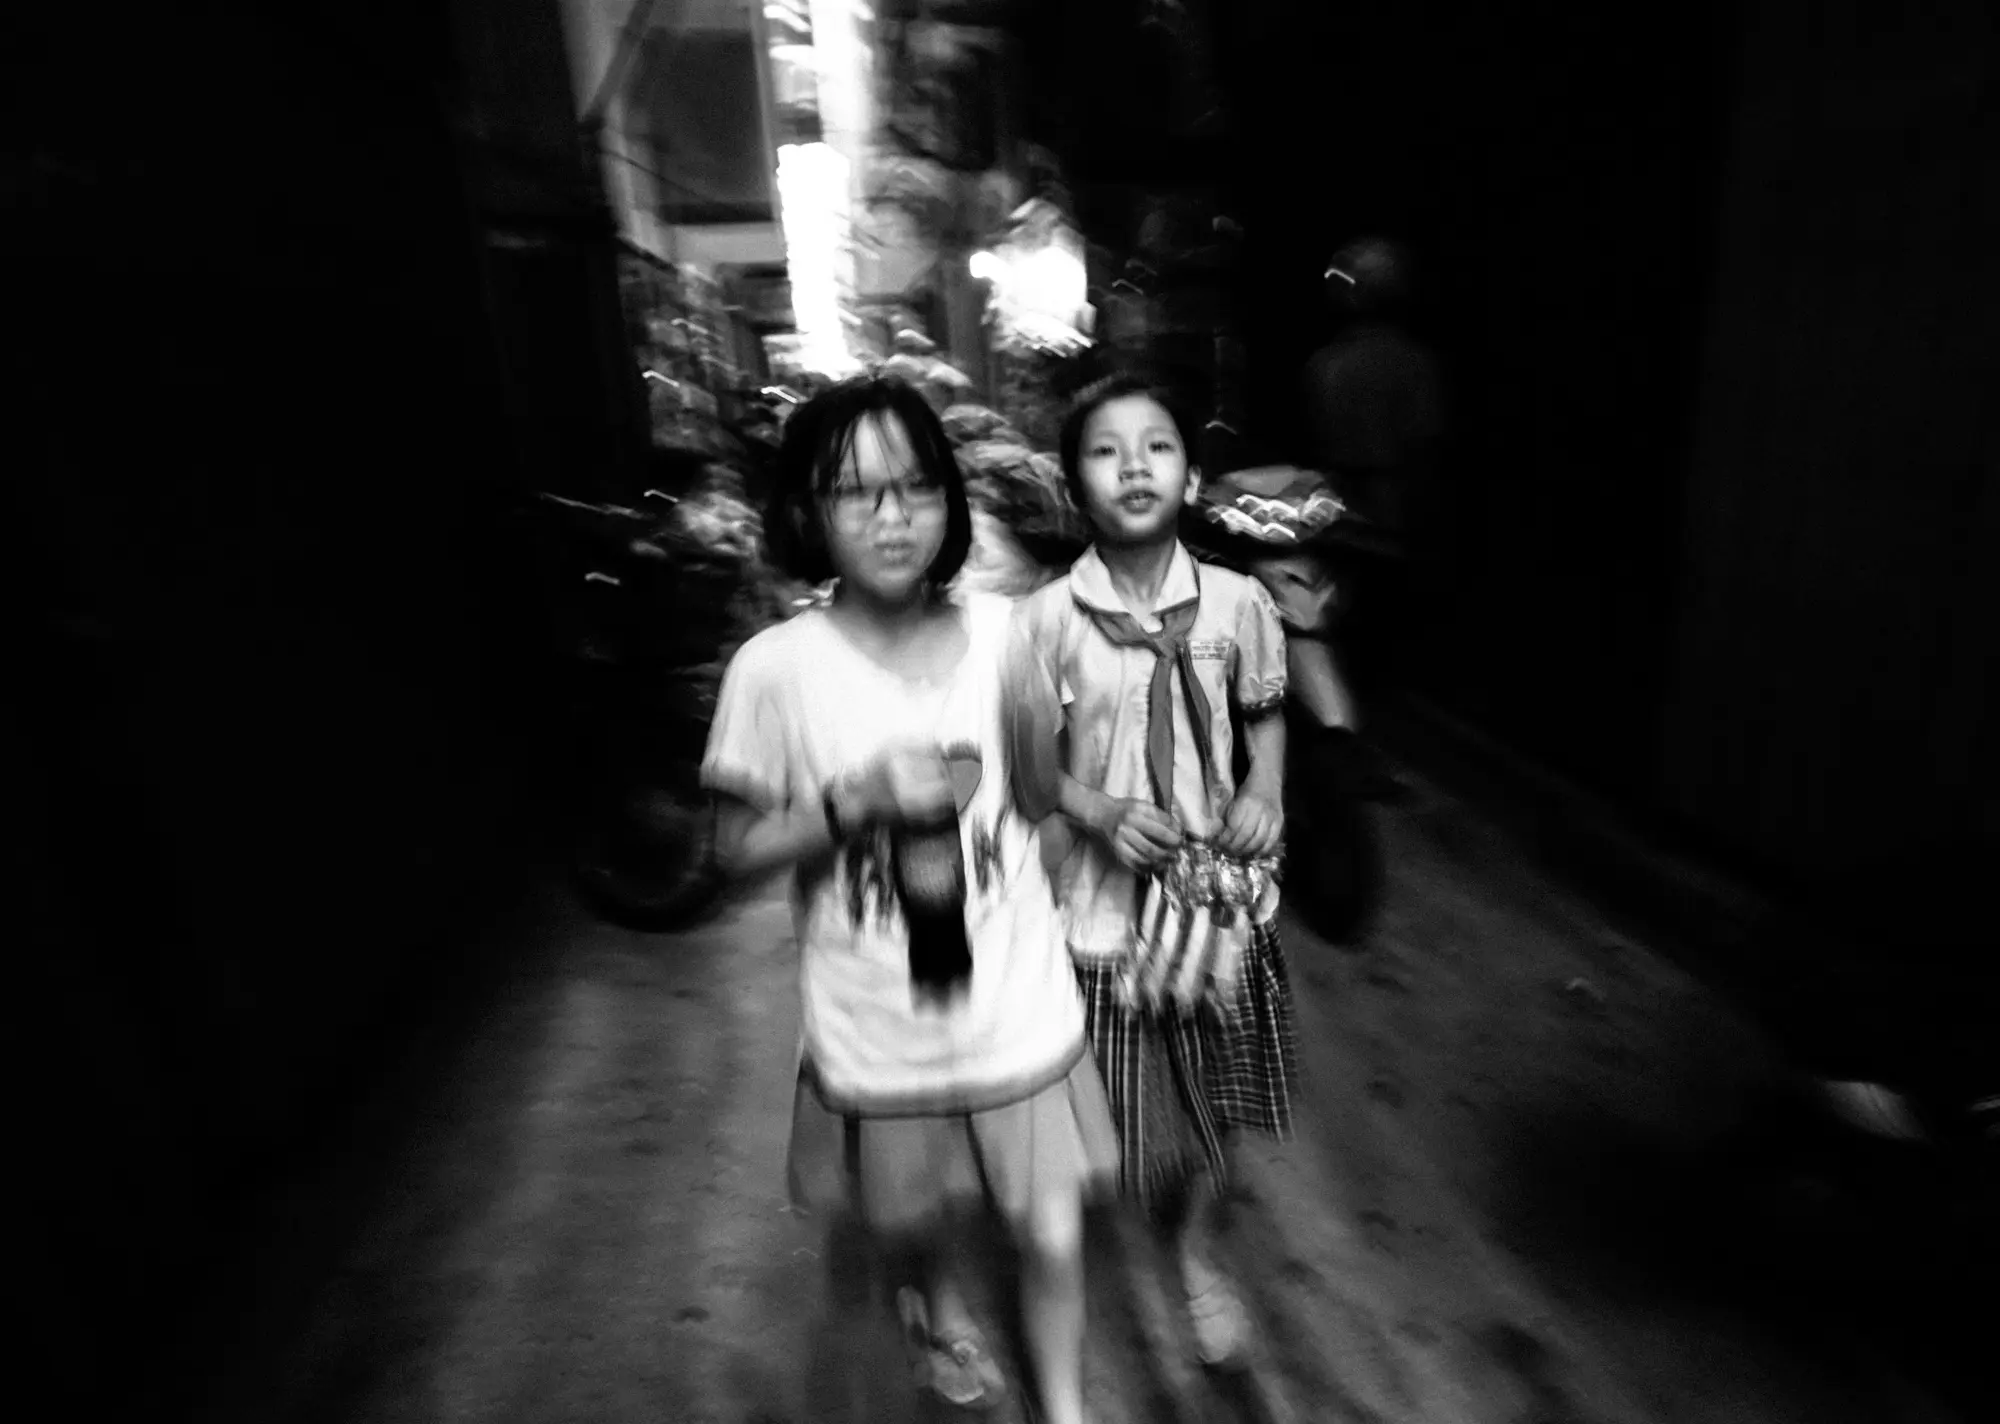
Bottom line is this: yes, it is better to have a picture that is sharp than the one that is blurry. But it is also better to have a blurry picture than none at all, and by deleting your image too soon, you might just delete a future masterpiece of street photography. You don’t want to be that guy (or girl).
Not being mobile enough when you shoot
Being mobile is probably the most important skill in street photography. Why? Because street is not static, like landscape photography, where you just set up your tripod and wait for the light to change. In street, you need to move around. See something promising, like an alleyway, or a dark corner somewhere? Don’t be afraid to go there. It goes without saying that you should also cover a lot of distance exploring neighbourhoods for interesting compositions and situations when you shoot street.
Look around you when you walk about. Some things might look different from a different angle, or the light may be more interesting behind you. You should be like an owl – with a 360-degree vision. Don’t twist your neck, though.
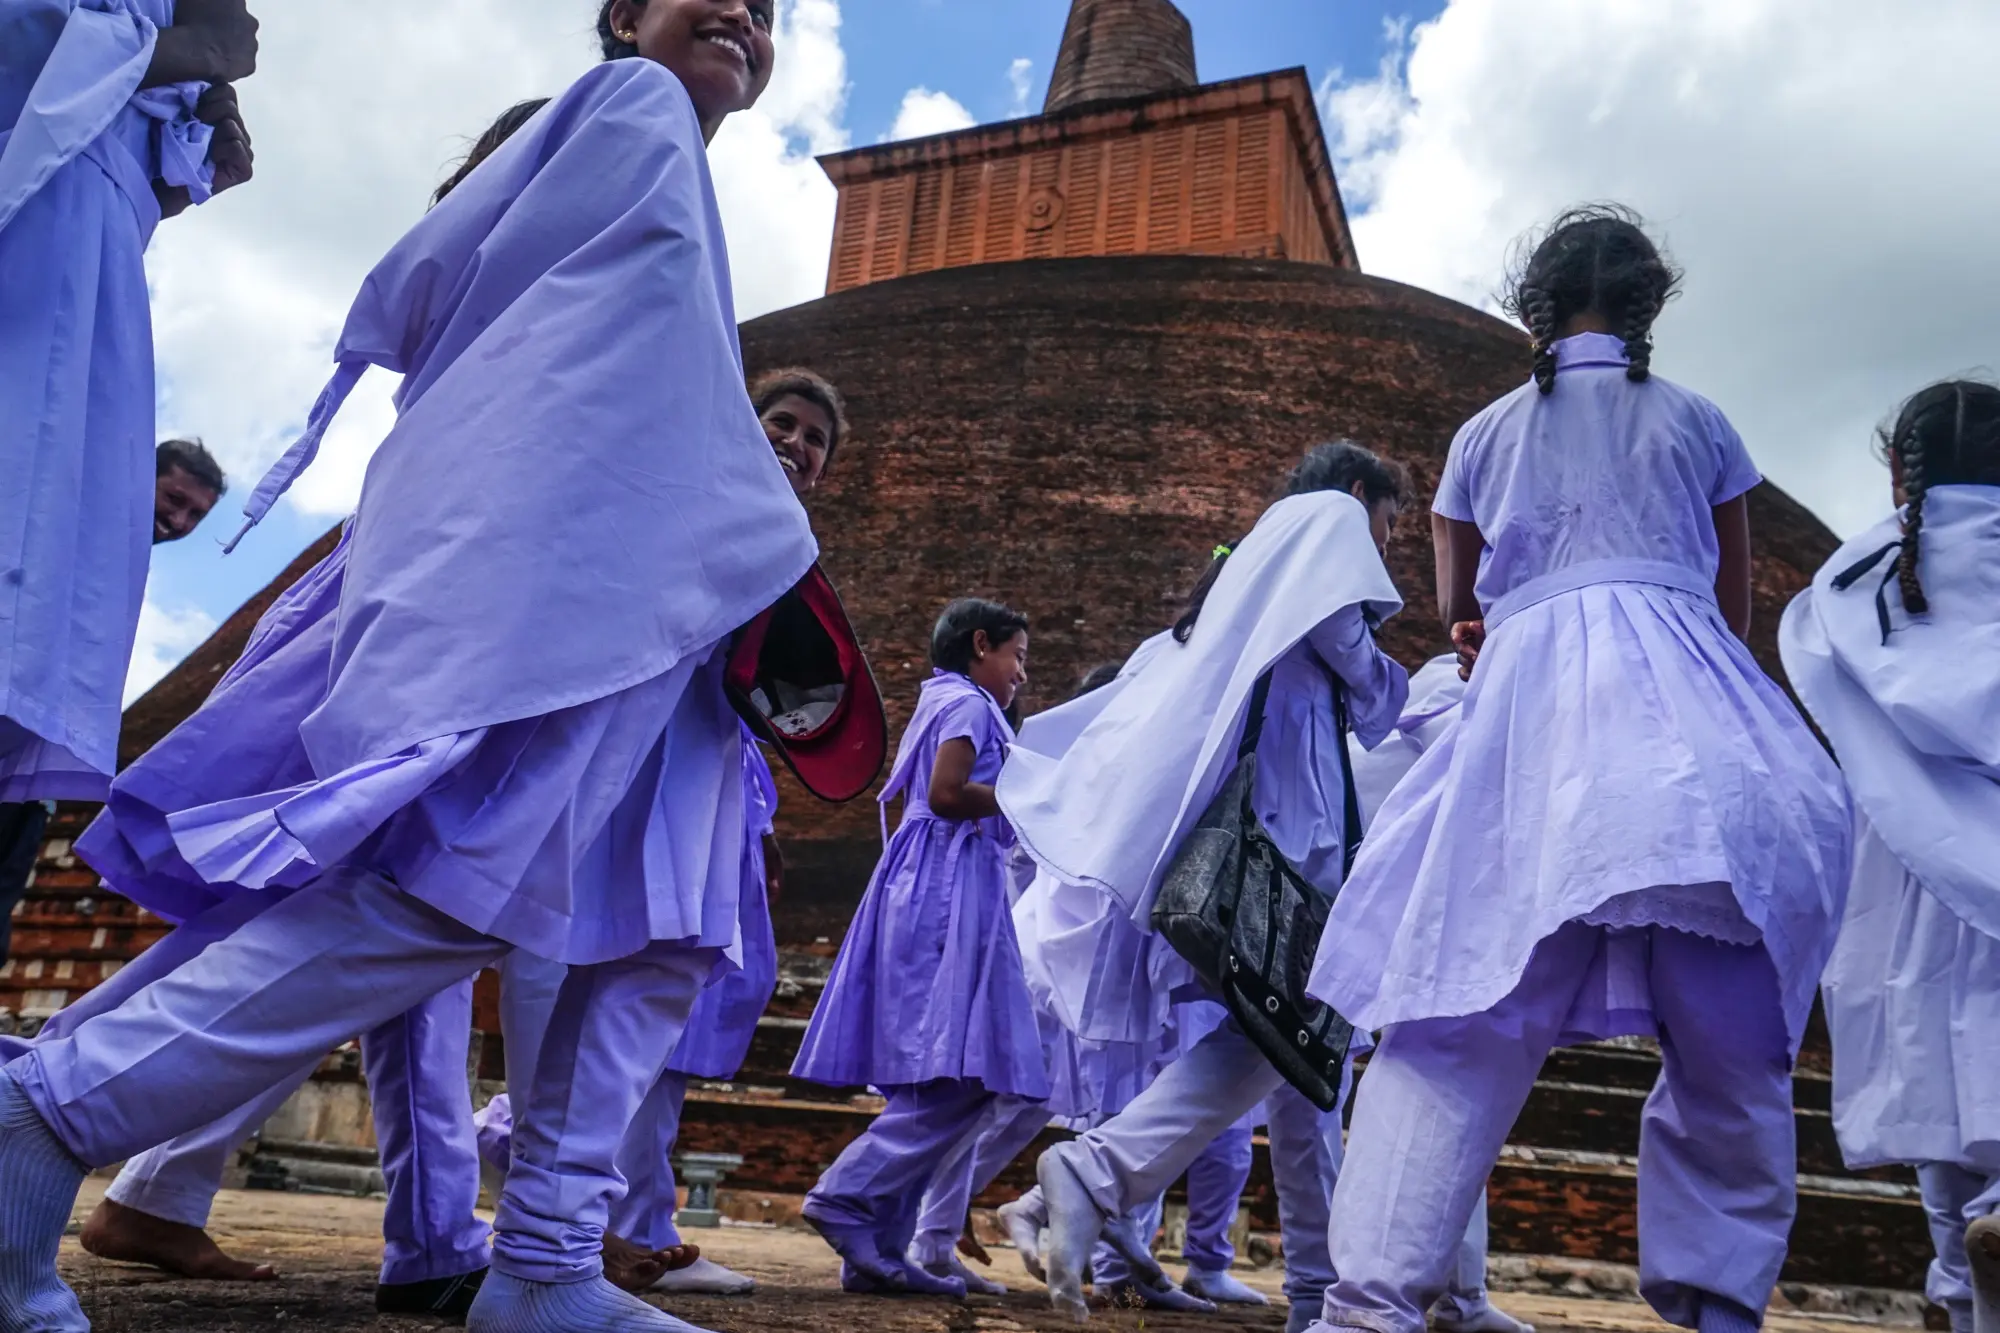
Just as important as looking around you and being mobile is ability to recognize and try different vantage points. If you have an articulated rear screen, put it to good use by either raising it up or going way down. Don’t be afraid to squat and shoot low. You may be a tad too close to a disgusting puddle, but in return you’d get an unusual reflection shot or a point of view of a street animal. Hopefully, not a rat.
Not recognizing the “lucky spot”
I’ve always said: street photography is like fishing. You need luck, for sure, but you also need to know good spots. The whole being mobile mantra is great and useful precisely until you find that magic spot where good shots can happen. And that’s where you wait.
What is a “lucky spot”? Let’s say you stumble upon some great texture on a wall that is beautifully lit with the afternoon sun. Some folks would photograph the texture and keep walking. But a street photographer might want to wait for a few minutes. What if interesting silhouettes from passers-by appear on the texture? Or a face? Or a dog? Basically, you are waiting for something to appear that will change your static image to a dynamic one. All those are the elements that will change your picture from an okay one to a unique one. Another example is a cool light spot amidst the shadows, or some other natural framing from where a subject might emerge. Use your imagination.
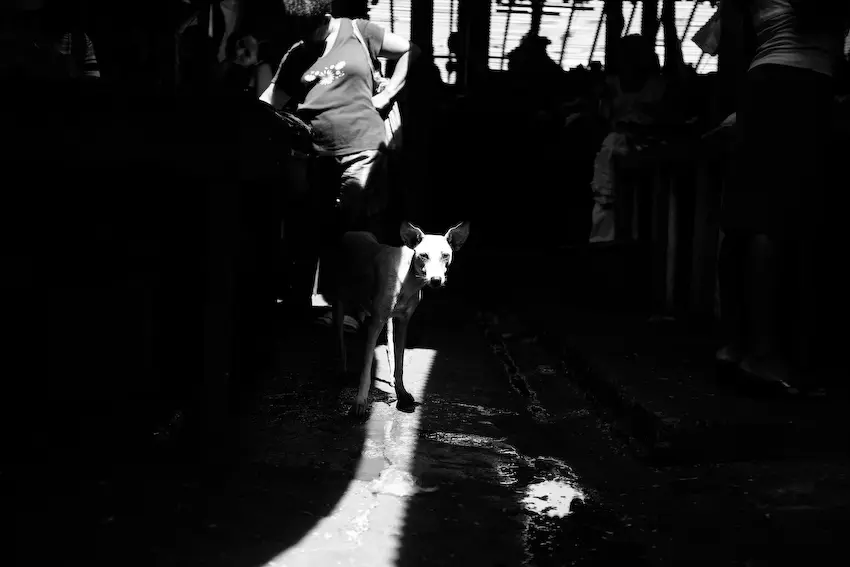
I’ve been known to wait up to an hour in some spots. Dark alleyways, shadows, squatting over puddles waiting for reflections… Yes, local folks passing by often think I’m a weirdo, but soon enough they will start ignoring you, and the likelihood of interesting pictures appearing will only increase as a result.
Abusing your rapid-fire shooting mode
I’m sure we all heard it from the so-called pros and serious amateurs with fancy cameras: trrr, trrr, trrrrr… They would gather up some kids to pose for “street” portraits and they shoot like crazy with their 10 frames per second shooting modes. Annoying, right?
Well, those rapid-fire shooting modes are there for you to use. They have greatly improved as camera technology continues to daze us all. And to be sure, they are great – in certain situations. Like sports photography, or wildlife shooting perhaps. Or when you are a true pro on any kind of an assignment that involves moving subjects.
But street photography is rarely commercial. To me, it’s one of the few remaining pure genres of the craft that started decades ago with black and white film rangefinder photography of masters such as Cartier-Bresson, Friedlander, Frank, Erwitt, Moriyama just to name a few. Do you think they would ever use those rapid shooting modes even if they had them?
Well, maybe, maybe not (I doubt it though). Continuing the fishing analogy, would you rather fly-fish or use a net? Depends on your goal. The point is, the technology is useful in certain cases, and yes, I have used it on occasion myself. For example, when you shoot flocks of birds in the streets, or fast-running subjects. But for God’s sake, don’t use it all the time. It kills that decisive moment hunting and really, street photography as a whole.
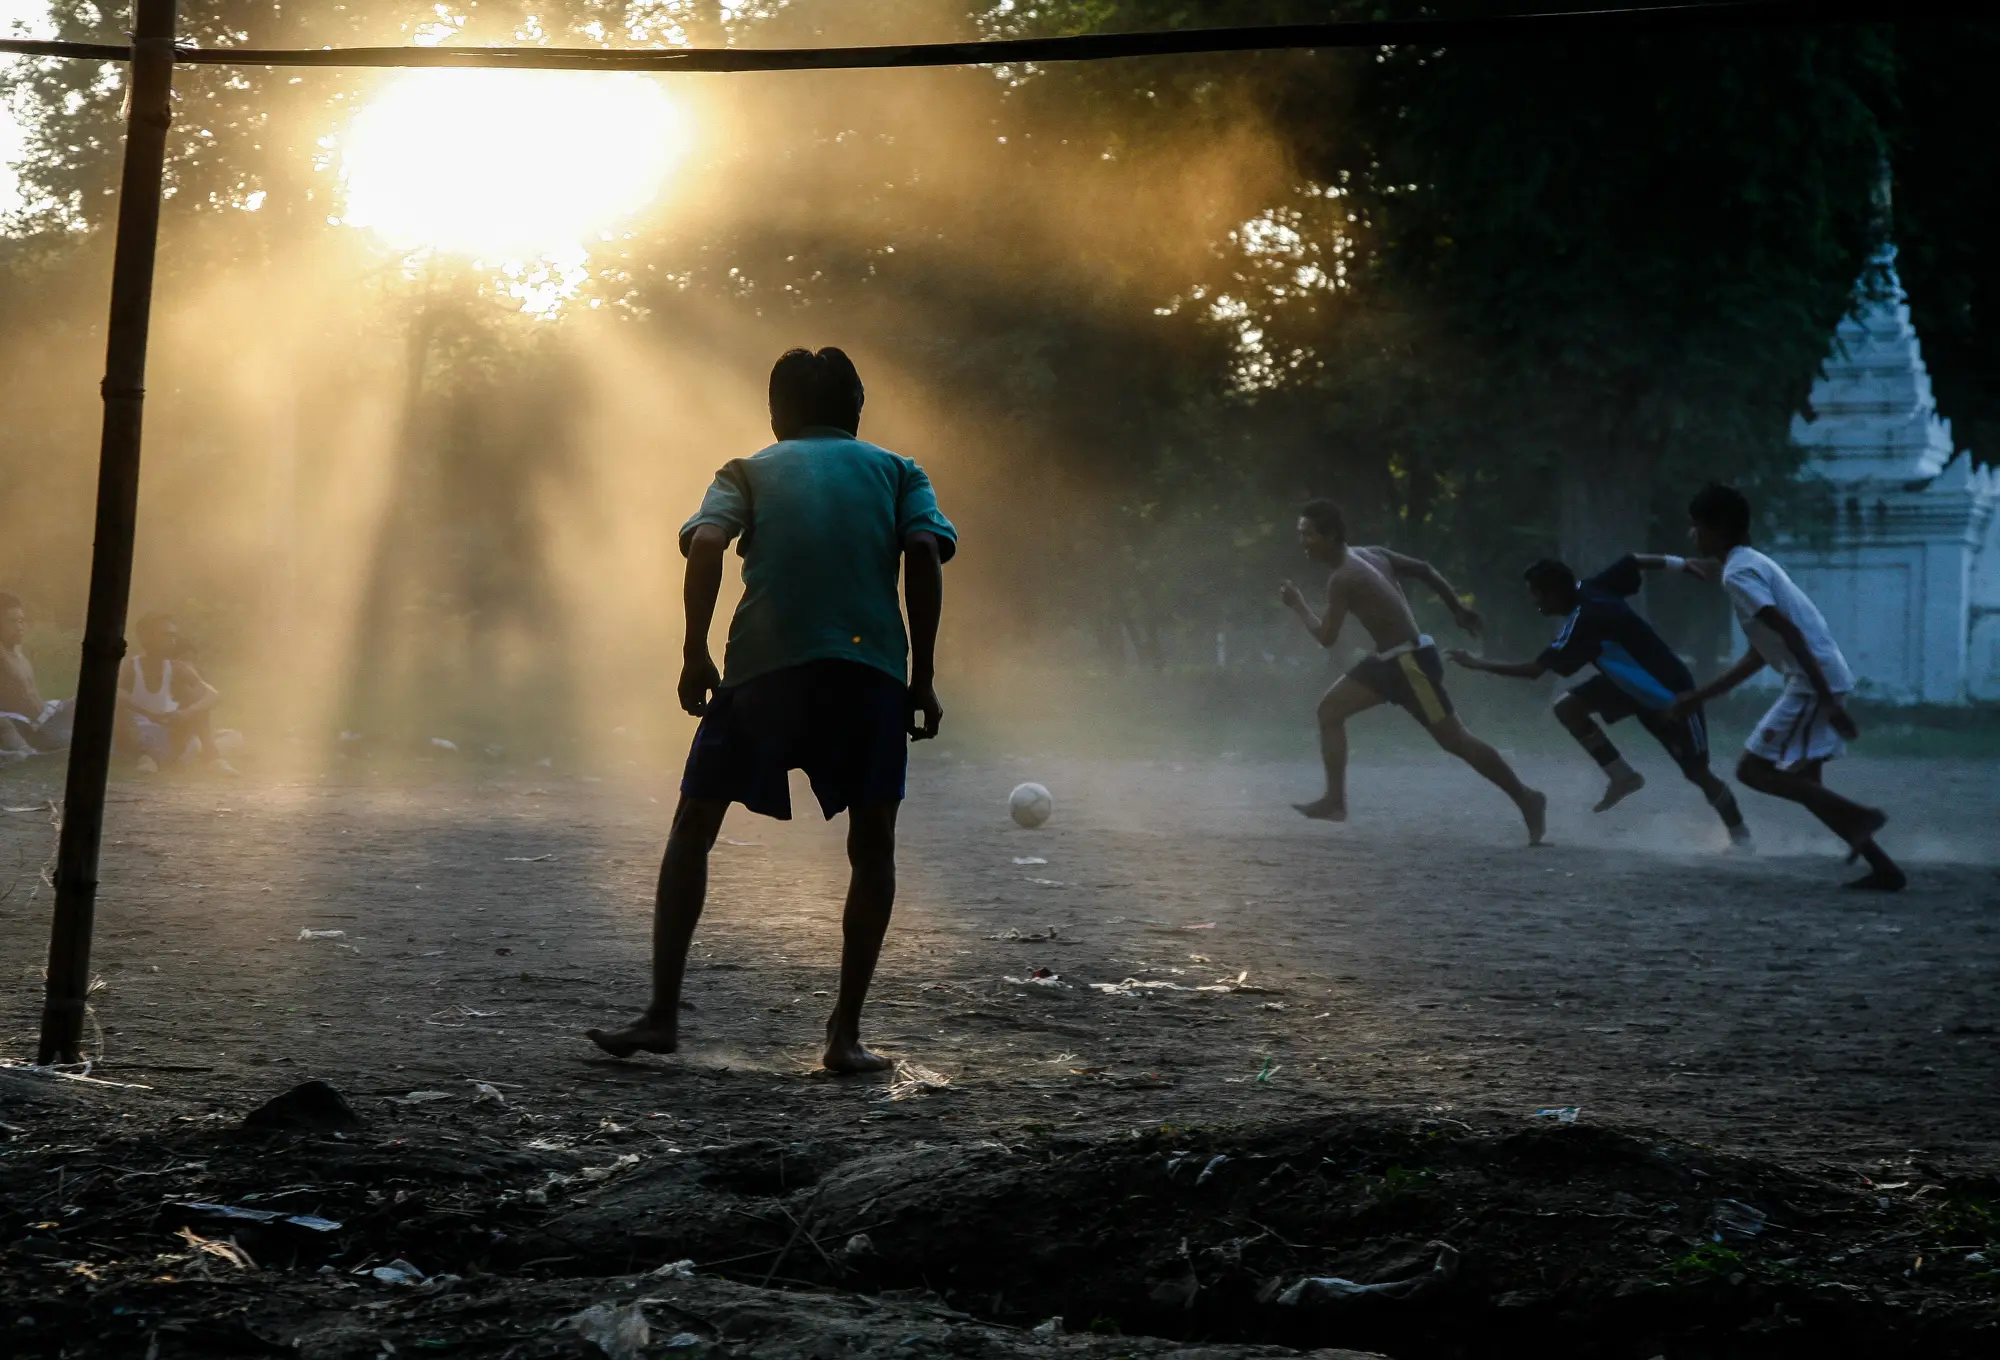
Not having extra batteries
If you remember using a film SLR camera with a fancy autofocus and light-metering modes, there’s one thing you probably don’t remember, and that’s changing a battery in those marvels. That’s because you hardly ever needed to. It lasted for months and you could easily forget you even had a batter there.
Modern-day digital cameras are battery guzzlers. You are basically shooting with a sophisticated computer with high-end optics attached to it. So it’s no wonder that I, for example, carry 2 replacement batteries in addition to the one that’s in my camera already. Usually, I need 2 full charges for a full day of intensive shooting, sometimes even needing the 3rd.
There are ways to minimize battery use, such as turning off the screen – its main drawing point, or the autofocus beeps, which is something you should do immediately after purchasing the camera. But the easiest way to stay “in power” is to carry the extras. Go on Amazon.com and buy a few for your specific camera. And keep them charged.
Not holding your camera correctly
Carrying and holding your camera correctly is important for 2 reasons: it should allow you to have it in your hand, ready to shoot, whenever you are shooting street. And it should prevent perpetrators from trying to steal it.
That pretty much rules out carrying it with your strap over your shoulder, as not only it can be easily stolen that way, but it’s also not too convenient to shoot from that position. It’s a little better to carry it with the strap over your neck and torso, with the camera on the opposite side, like a purse, but you are still limited in what you can quickly shoot that way.
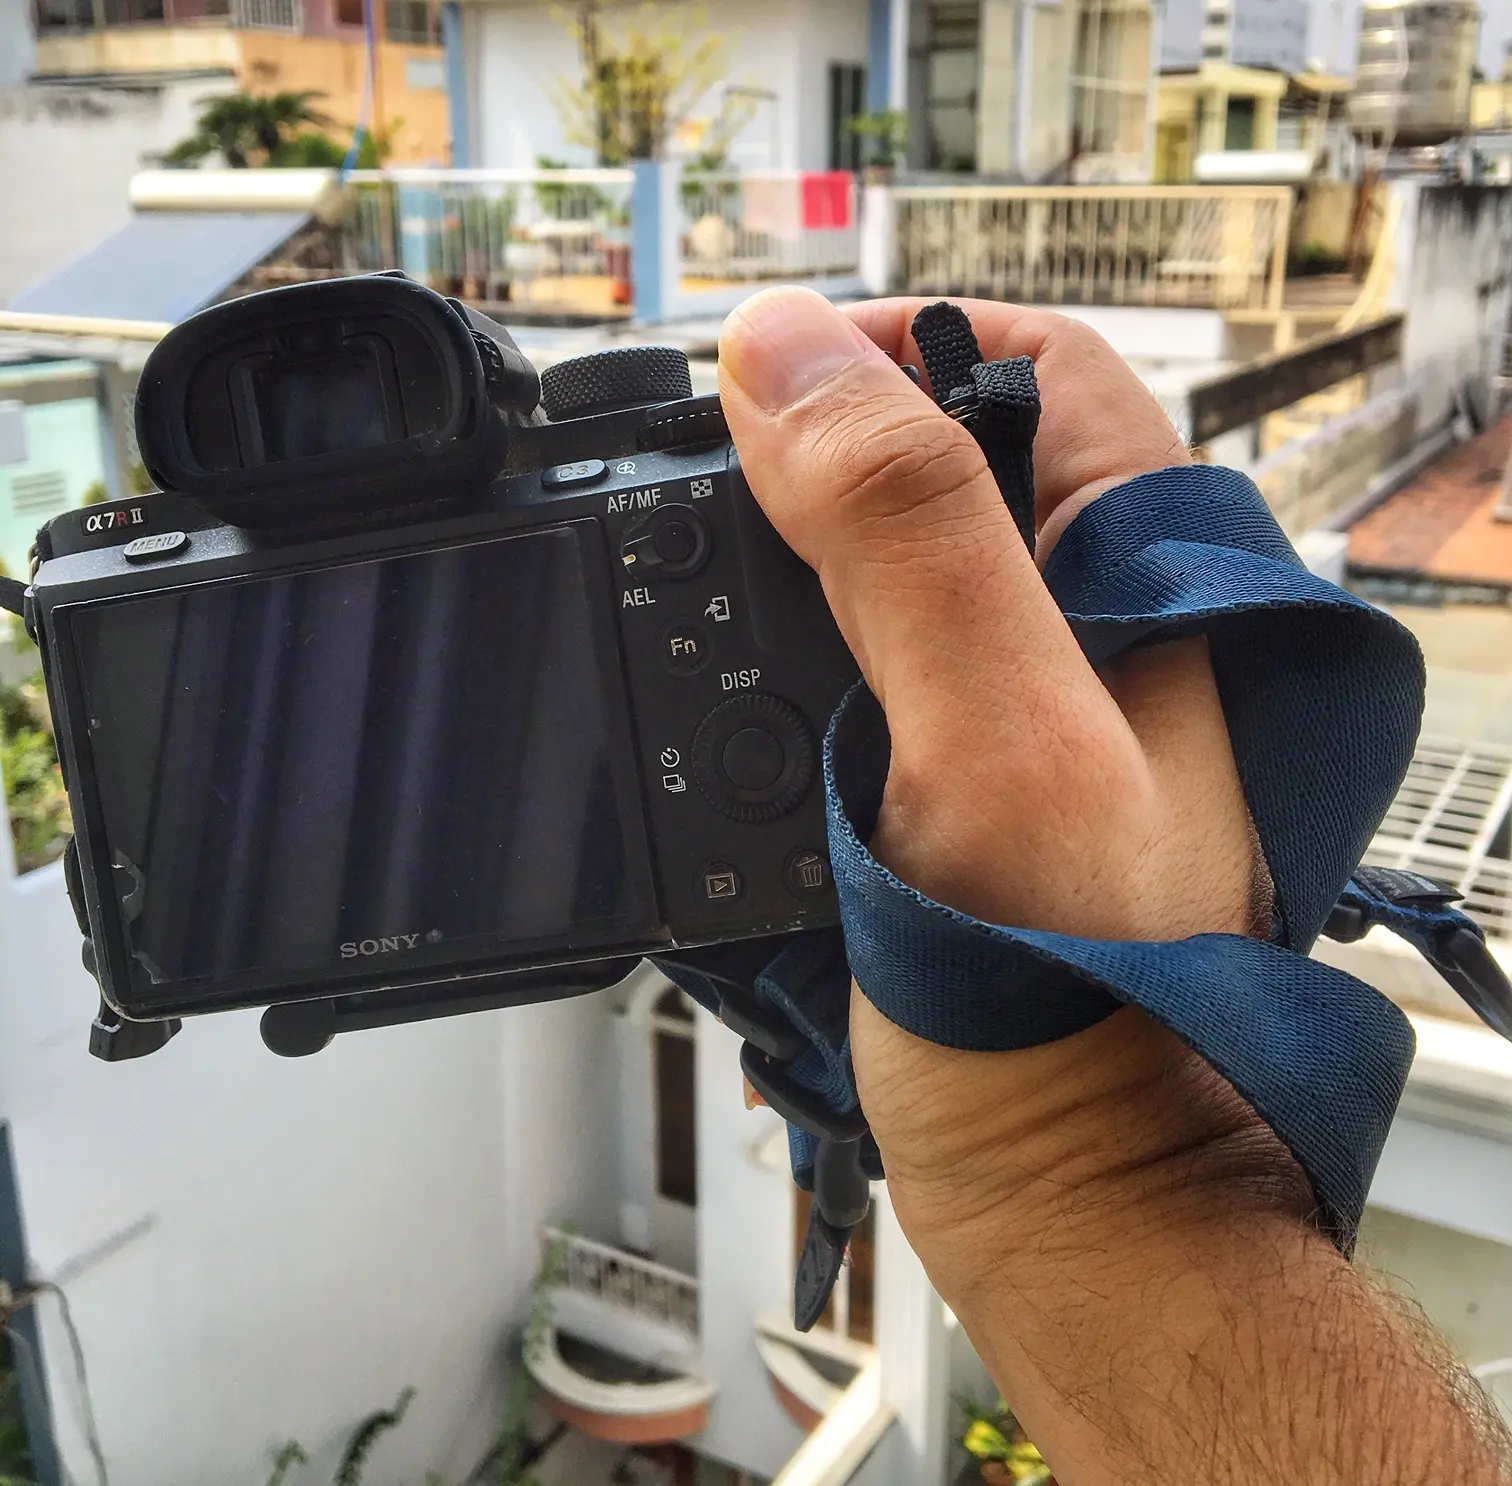
While there are some innovative straps nowadays such as this one from Peak Design that allow you to carry it on your shoulder and still have easy and convenient access to it, I believe it’s better to take the camera off your shoulders completely, wrap the strap around your wrist and hold it in your right hand. This way, you can’t really lose it as the strap should prevent it from detaching from your hand, and you have the completely unobstructed use of all your camera functions in any position.
So there you have it, folks. Avoid these mistakes, and your street shooting experience should be more productive. And if you wish to further improve your skills, I am currently offering multiple street photography workshops in Asia. While I am based in Ho Chi Minh City in Vietnam at the moment where I offer a set of amazing street photo walking tours, I can be available to mentor you in street photography in nearby cities such as Hanoi, Singapore, Hong Kong, Bangkok, Kuala Lumpur and others upon request. Contact me if interested, or comment below with your information.
