In previous posts about photo gear, we talked about what cameras and lenses I recommend for travel photography. But what should you be photographing? In other words, what are you buying all that gear for?
The easiest and most obvious subject is nature and sights. It won’t require permission from anyone (usually), and you can take all the time in the world to set up and shoot. On your typical trip, you will likely see places that just beg to be on a postcard, and sometimes, those famous archaeological and historical sites that you’ve read about in books and dreamt of photographing ever since! If you are a creative person like me, your juices will start flowing at a mere mention of Machu Picchu, Angkor Wat, Great Pyramids of Giza, Borobudur or Colloseum.
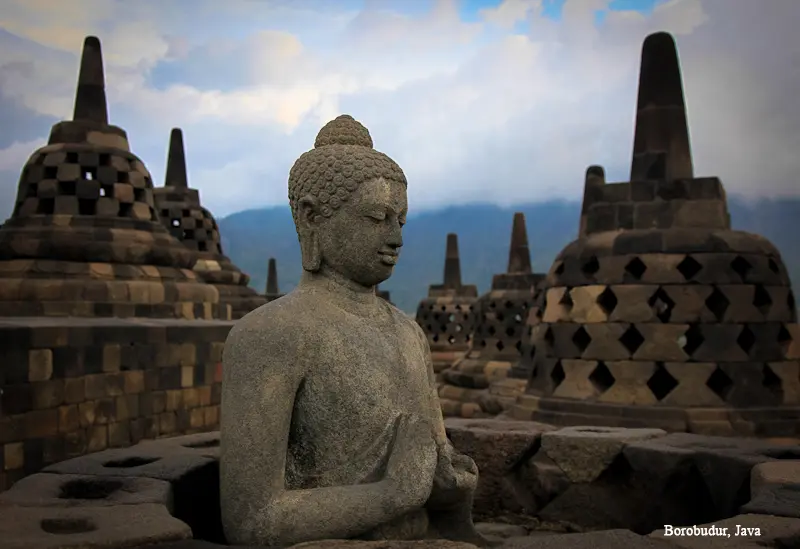
However, be prepared for a shock. If you think you will be the only one shooting away at those stragetic photogenic spots, think again. Some, but really, most of those places will be teeming with dozens, if not hundreds of photographers with various gear and of various skill level, but mostly just amateurs shooting with their mobile phones. Seen those sunrise pics of Angkor Wat? Trust me, you don’t want to see what’s going on behind the scenes of those shots and how many people arrive hours before the actual sunrise just to occupy a good spot. Do you want to be one of those people? It’s up to you – just remember, you will not be able to shoot anything different at those places than already exists in tens and even hundreds of thousands of shots online and in people’s Facebook albums.
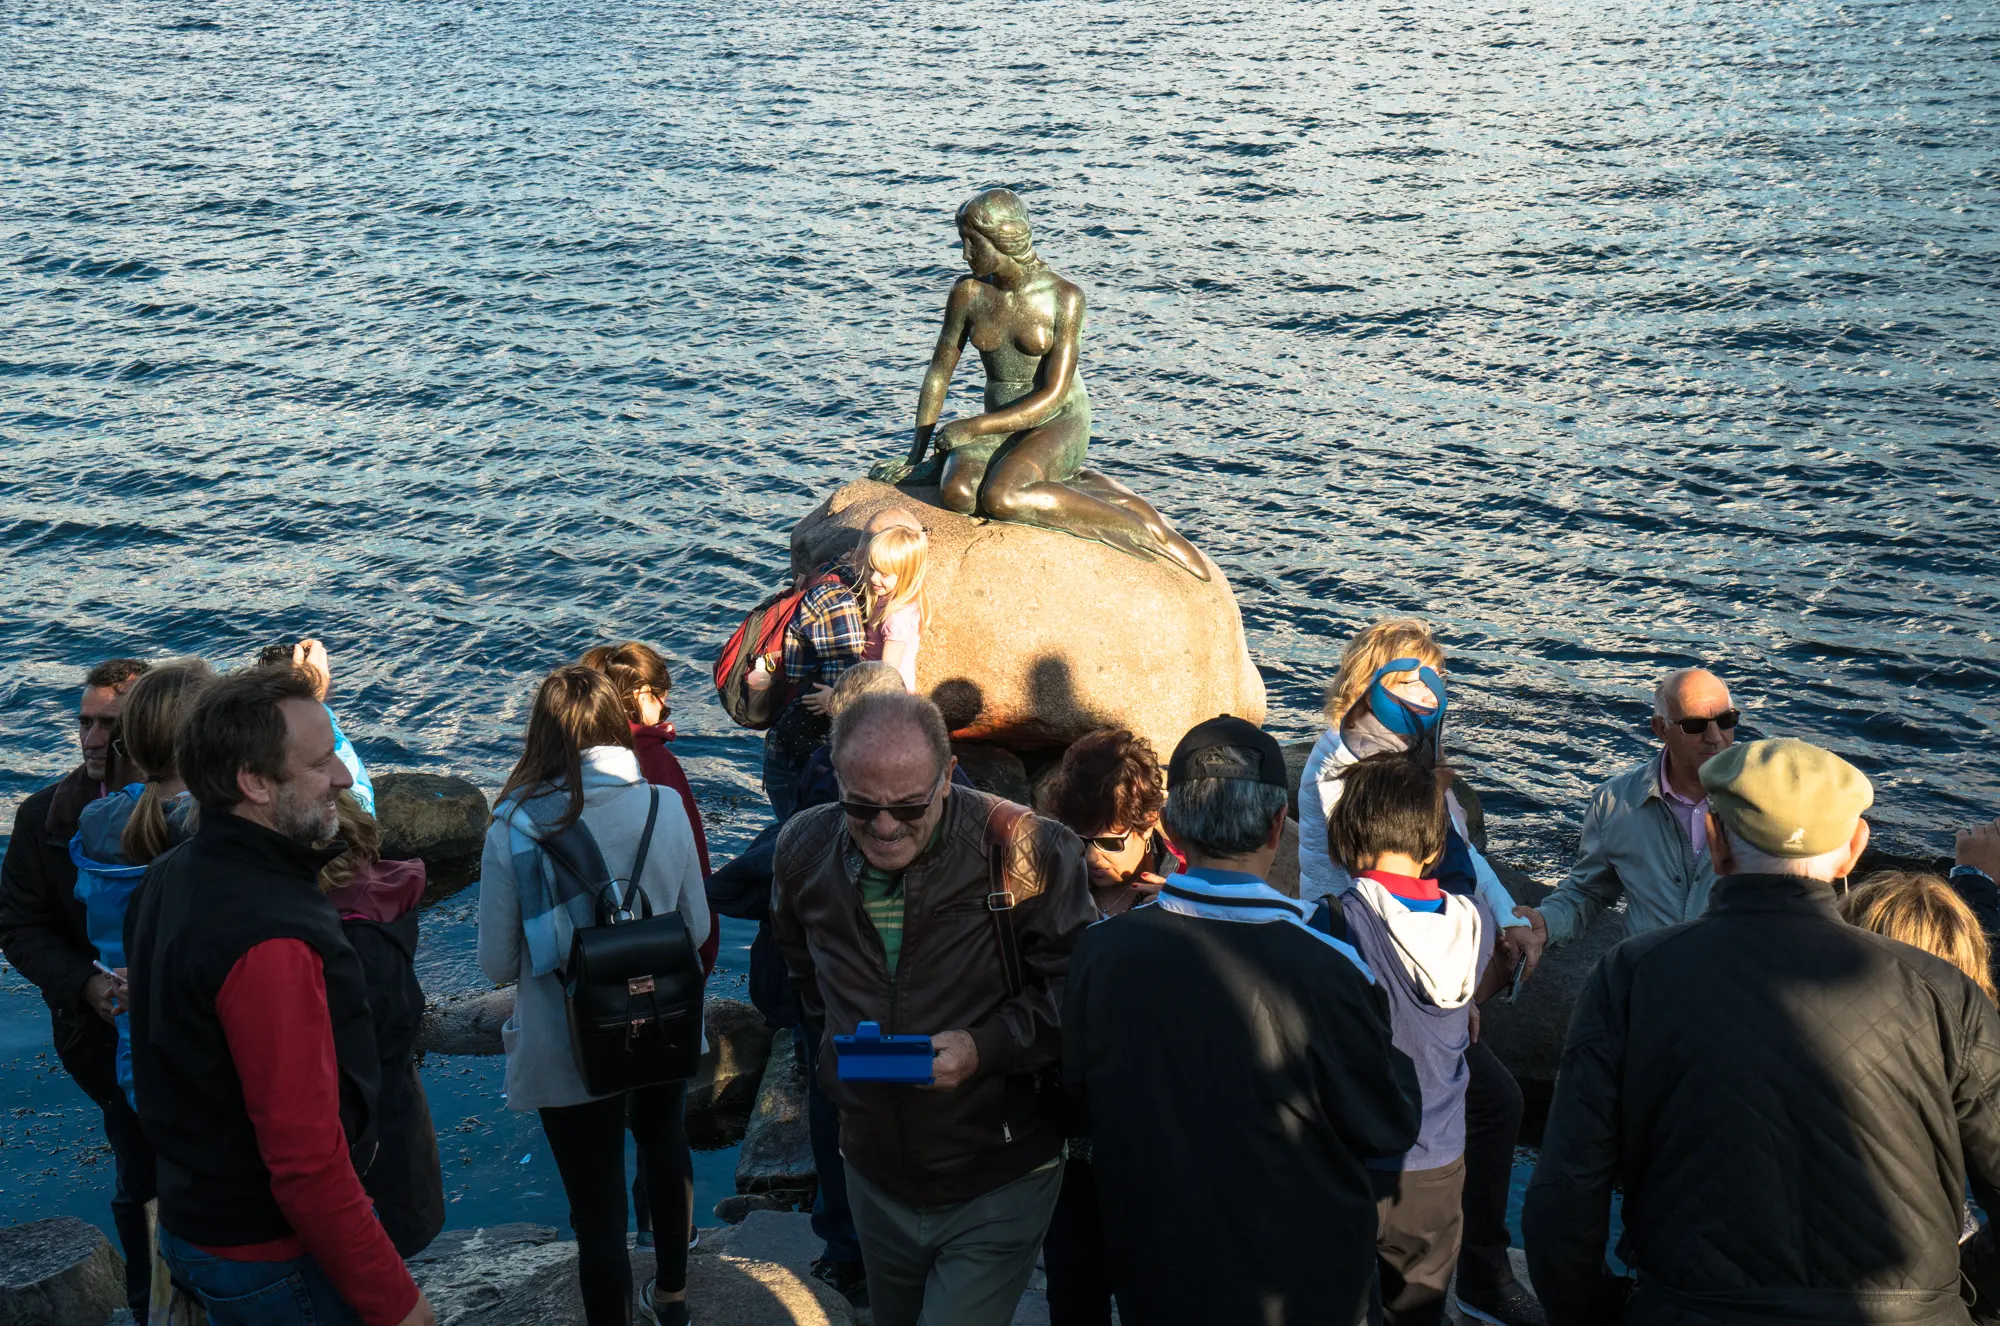
So what to do? Well, I could recommend skipping the famous points of view altogether, but if you go to a bog sight for the first time, you still want to take that coveted “postcard” picture that you’ve seen time and time again. Nothing wrong with that. But now that you’re done, go deep.
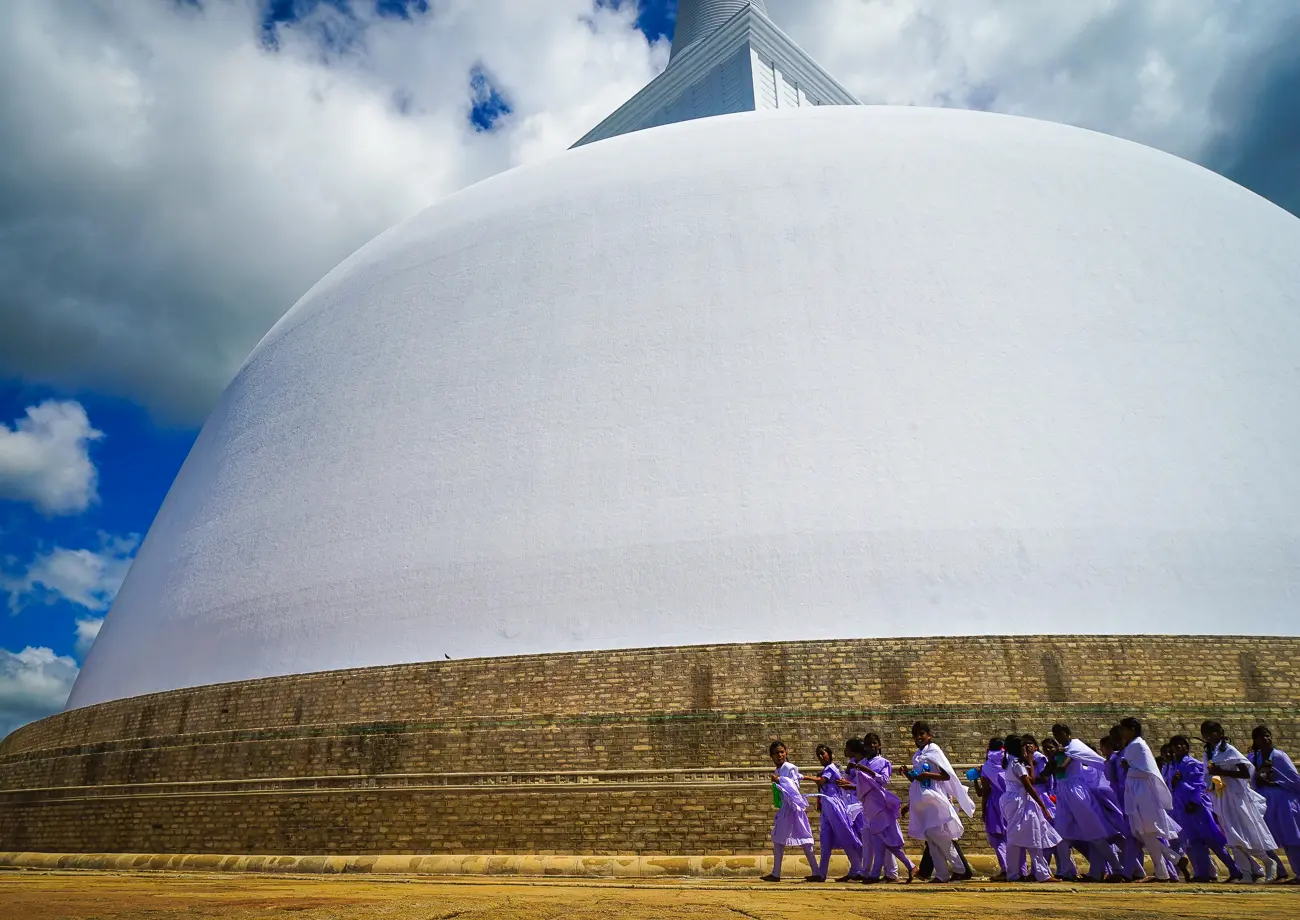
What do I mean by that? Well, try to escape the flow of tourists as much as possible. Go inside, look for some unusual angles and vantage spots. Go abstract – find a beautiful wall, or texture, or a shadow shape. Wait for something different, whether a beam of light, or an animal, or even a person to pass by. Yes, people in your pictures can liven them up, not ruin them, if you shoot them correctly (not literally). In general, people photography just about the only way you can take some unique shots on your trip. But what if you are shy to take pictures of strangers?
First of all, being a tourist, or a traveler if you prefer, especially in a country whose language you don’t understand, gives you an advantage of being an outsider. You can probably get away with more (with your camera, of course), than someone who is a local. Of course, you shouldn’t be a jackass – don’t get into people’s faces unexpectedly. Whenever you are walking the streets of an interesting city or a village ready to shoot, a smile goes a long way to warming people up to you and your camera. Talk to your subjects, or at least say “hello”. Shoot from a shoulder or a hip, although be careful with the angle of your photo. Shooting blindly isn’t easy with certain cameras, but you should get a hang of it pretty quickly with practice.
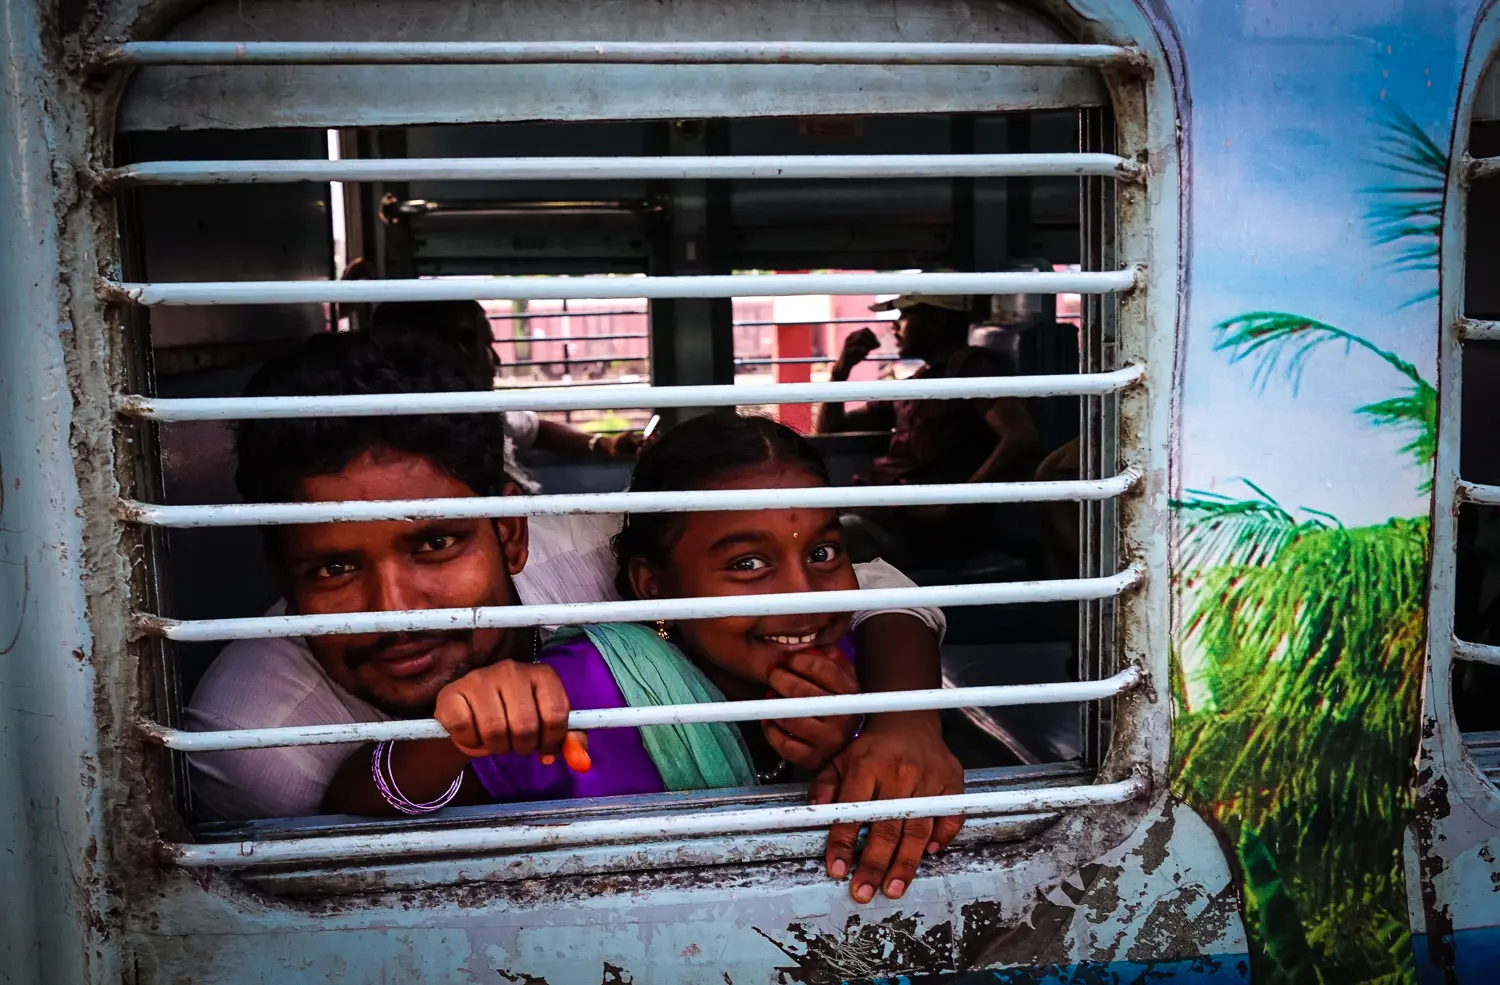
One other trick I’ve used, especially when shooting people in public transport, is keeping your camera below your head and looking down at it, pretending to fiddle with the settings, when in fact, you can take pics of people. For this to work well, you need a camera with a silent shutter and a pivoting screen, such as Sony Alpha 7rIII (or other cameras in this family). Olympus OM-D EM-1 works great too, especially with its lightning-fast autofocus. Just don’t get carried away – even if you are not told off, photos of people frowning at you are rarely interesting.
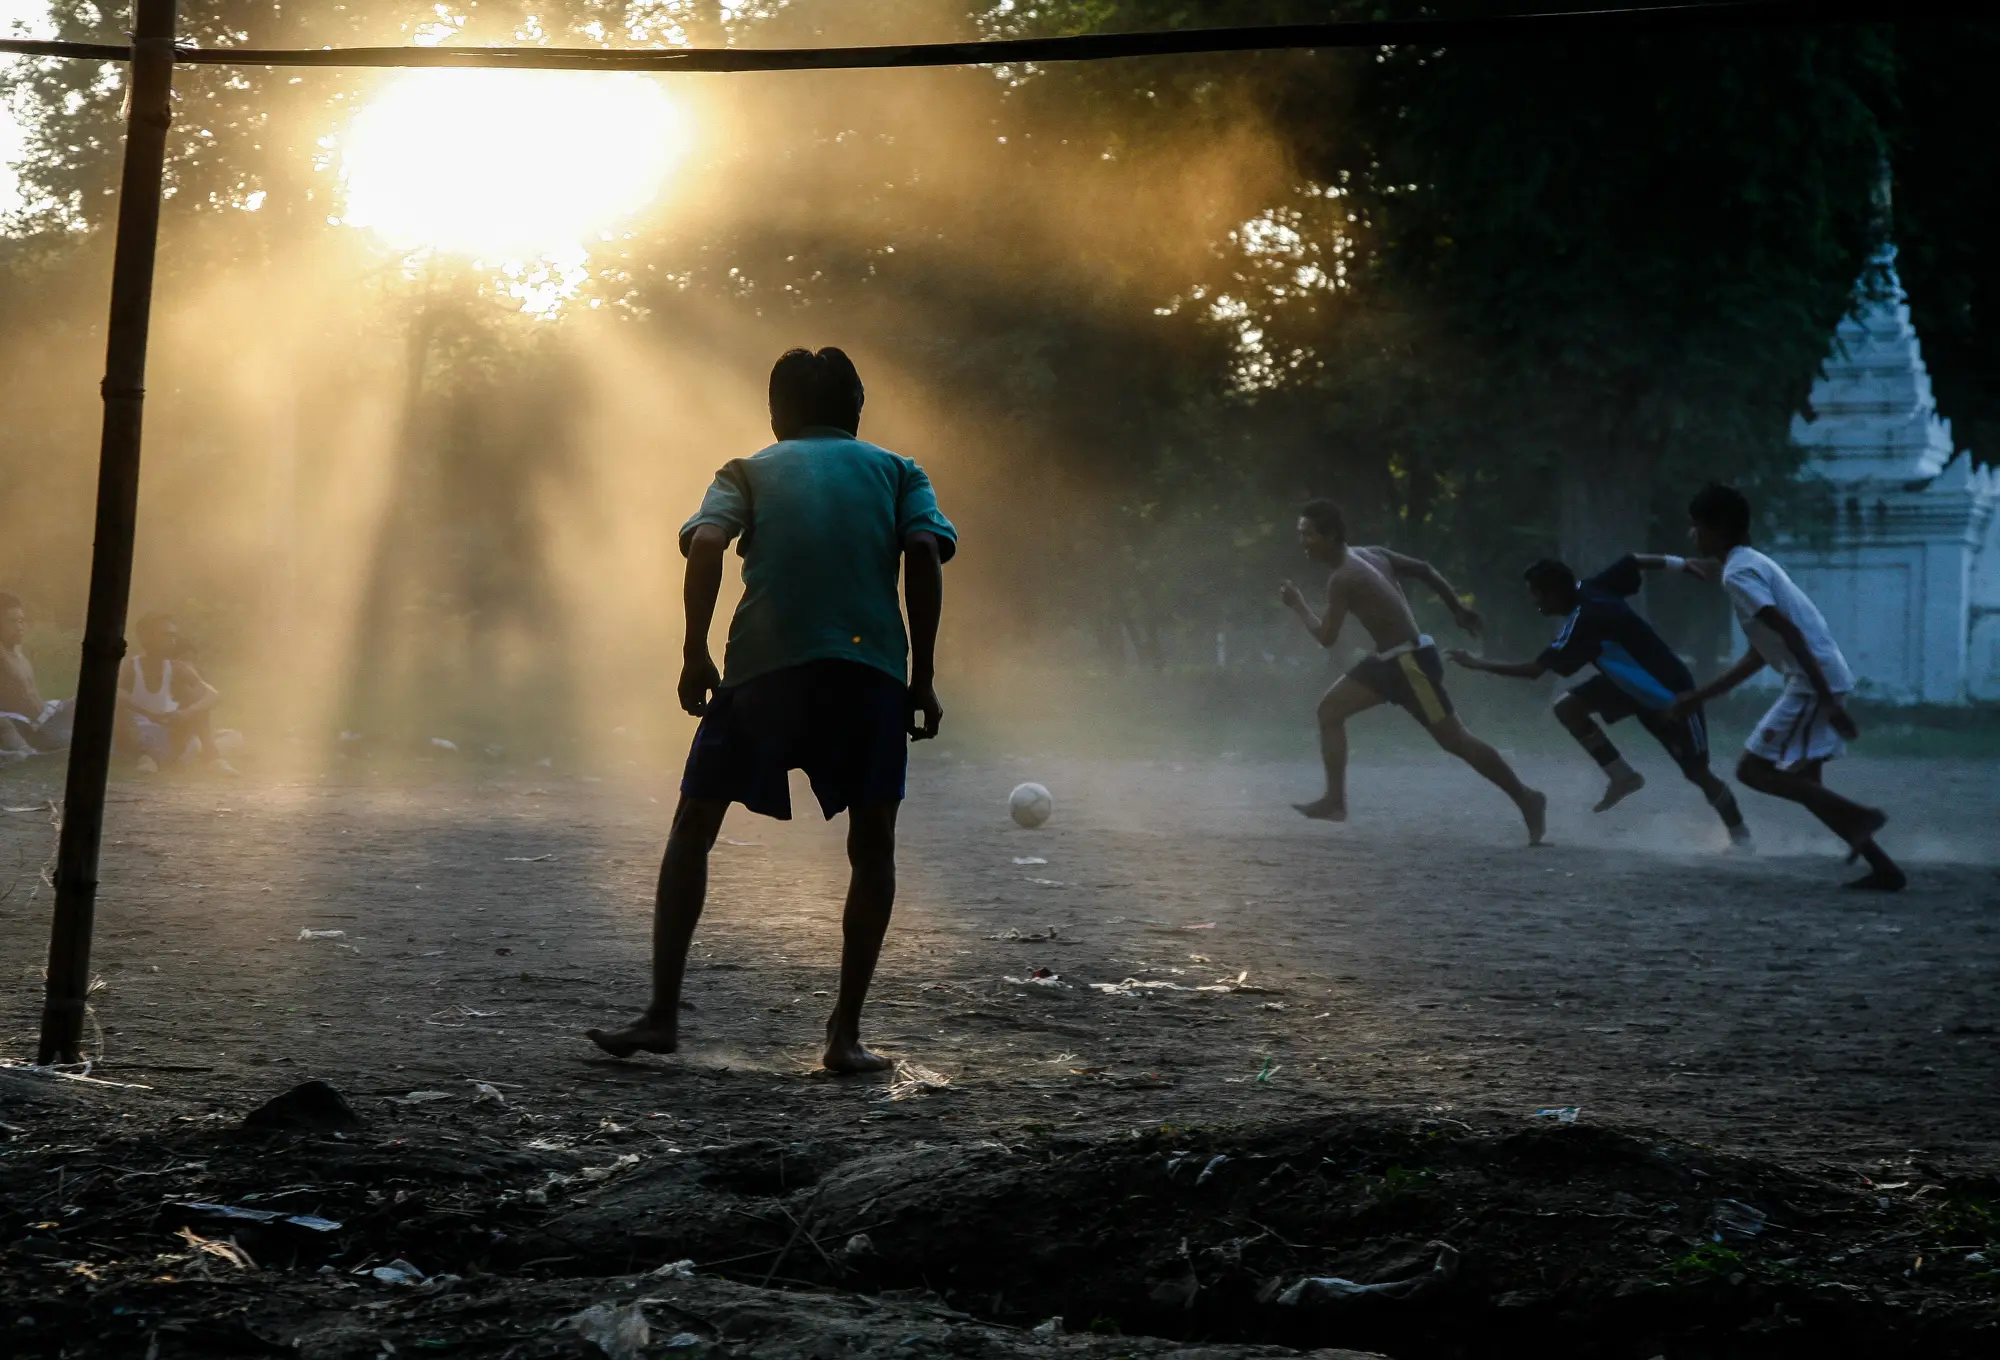
Of course, the interesting pictures are the ones where your subjects are actually doing something. Any kind of outside work or play is great for photography: fishing, carrying stuff, playing football, dancing, running – you name it.
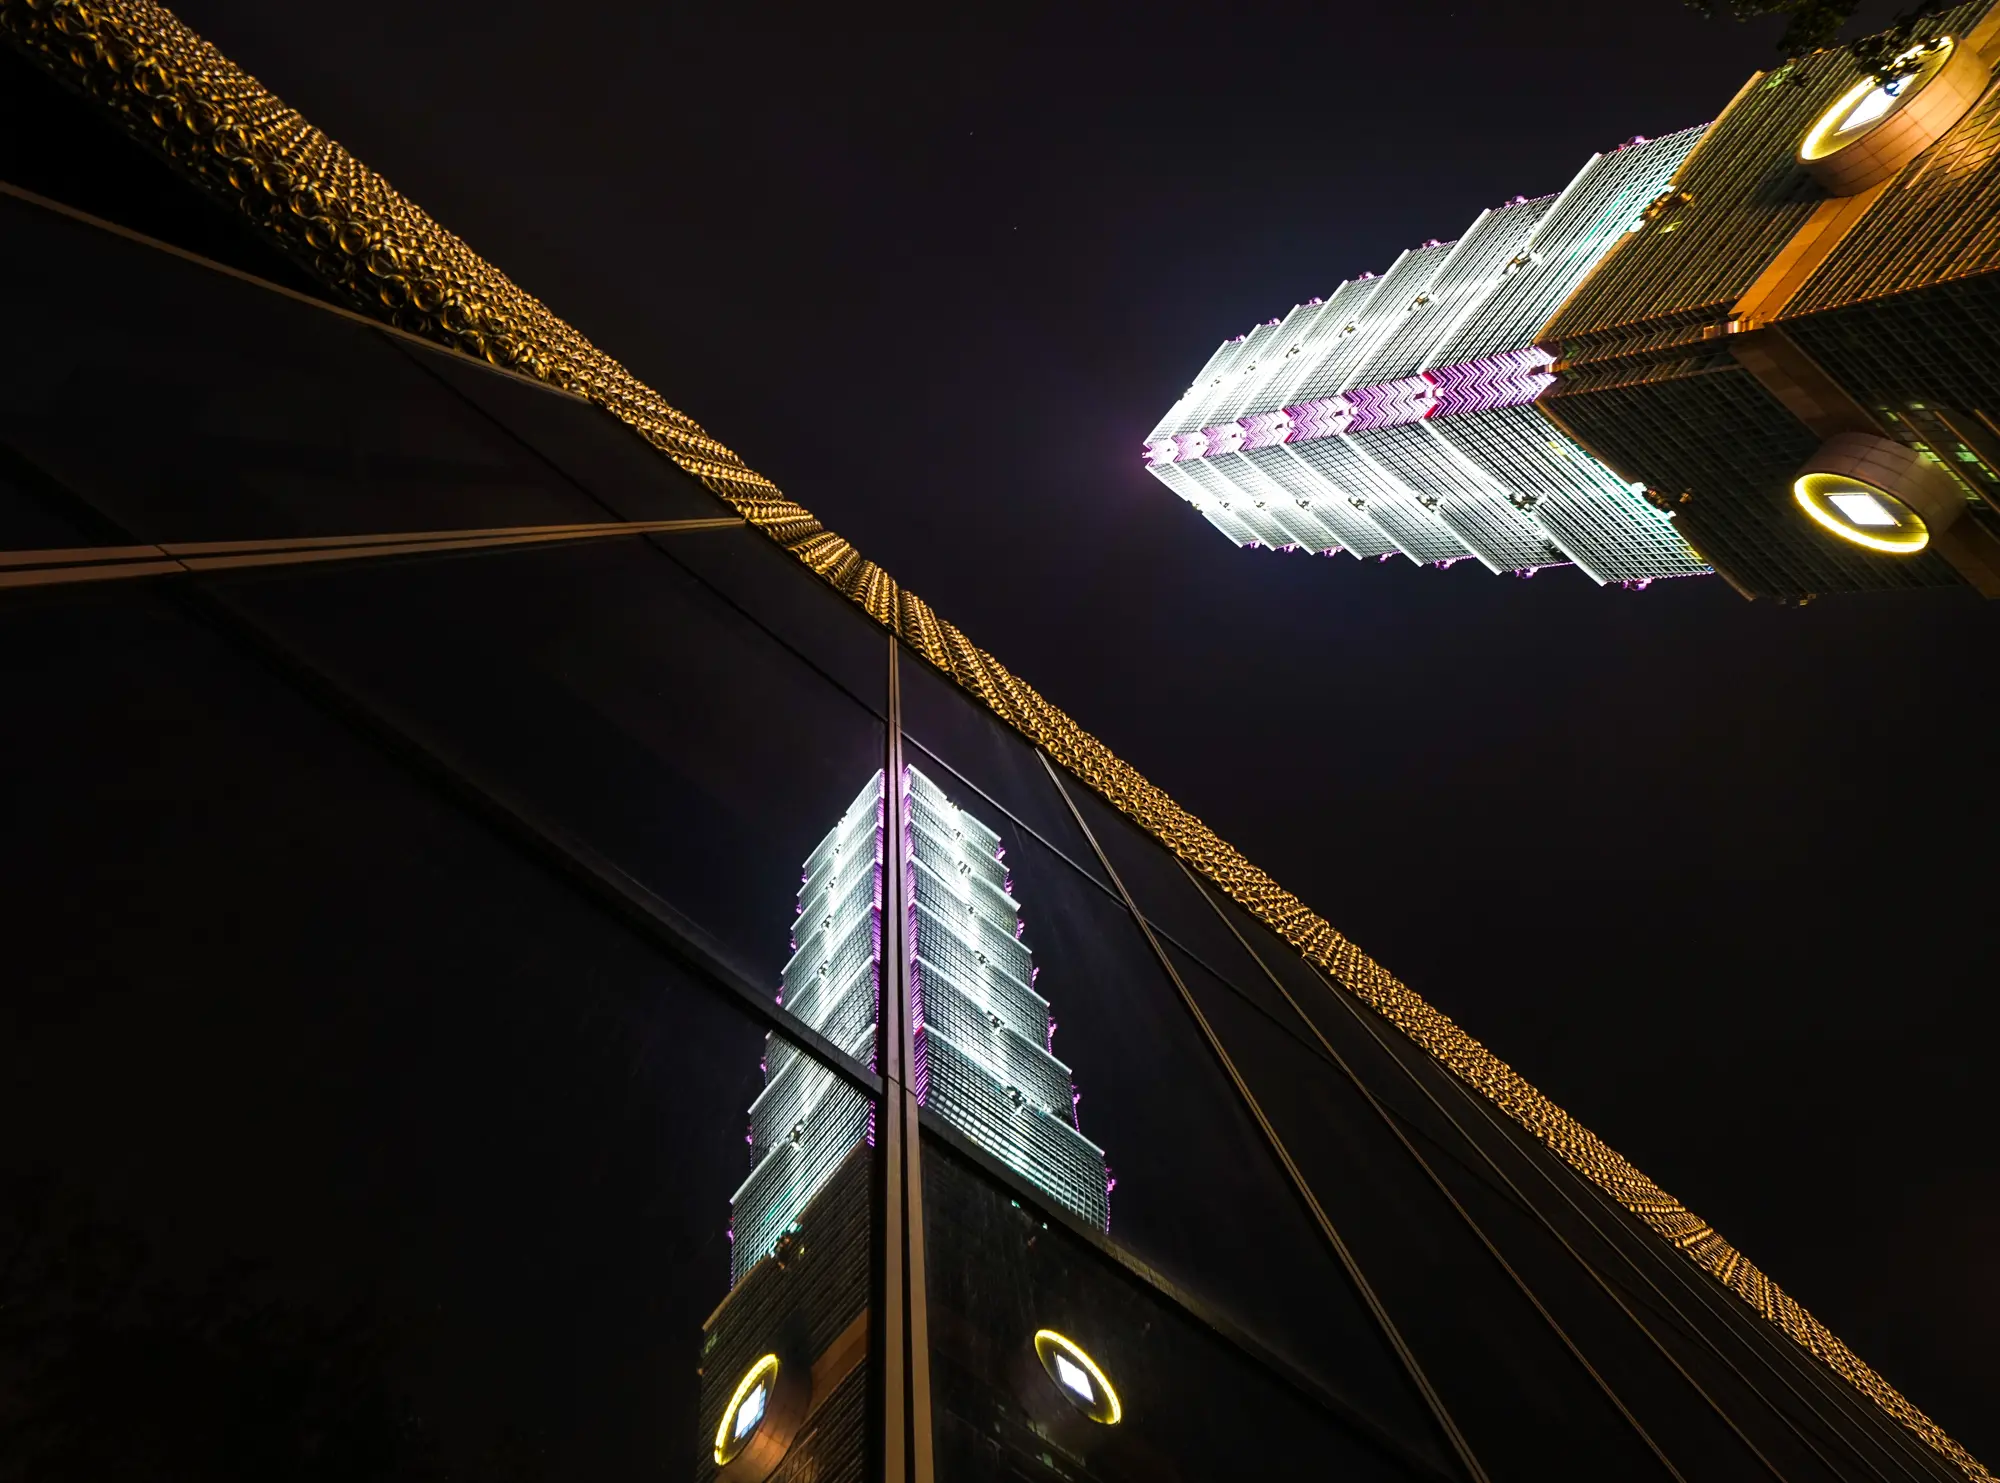
And don’t think that your shooting day ends with the nightfall. Not at all; in fact, night travel photography is one of the ways to take home pictures of familiar places that are different from what’s flooding the Internet. Remember those fast manual lenses I recommended? The time to use them is after dark. If you have a lens with f1.4-f2 aperture combined with a high ISO setting, you don’t need a distracting flash to shoot night scenes.
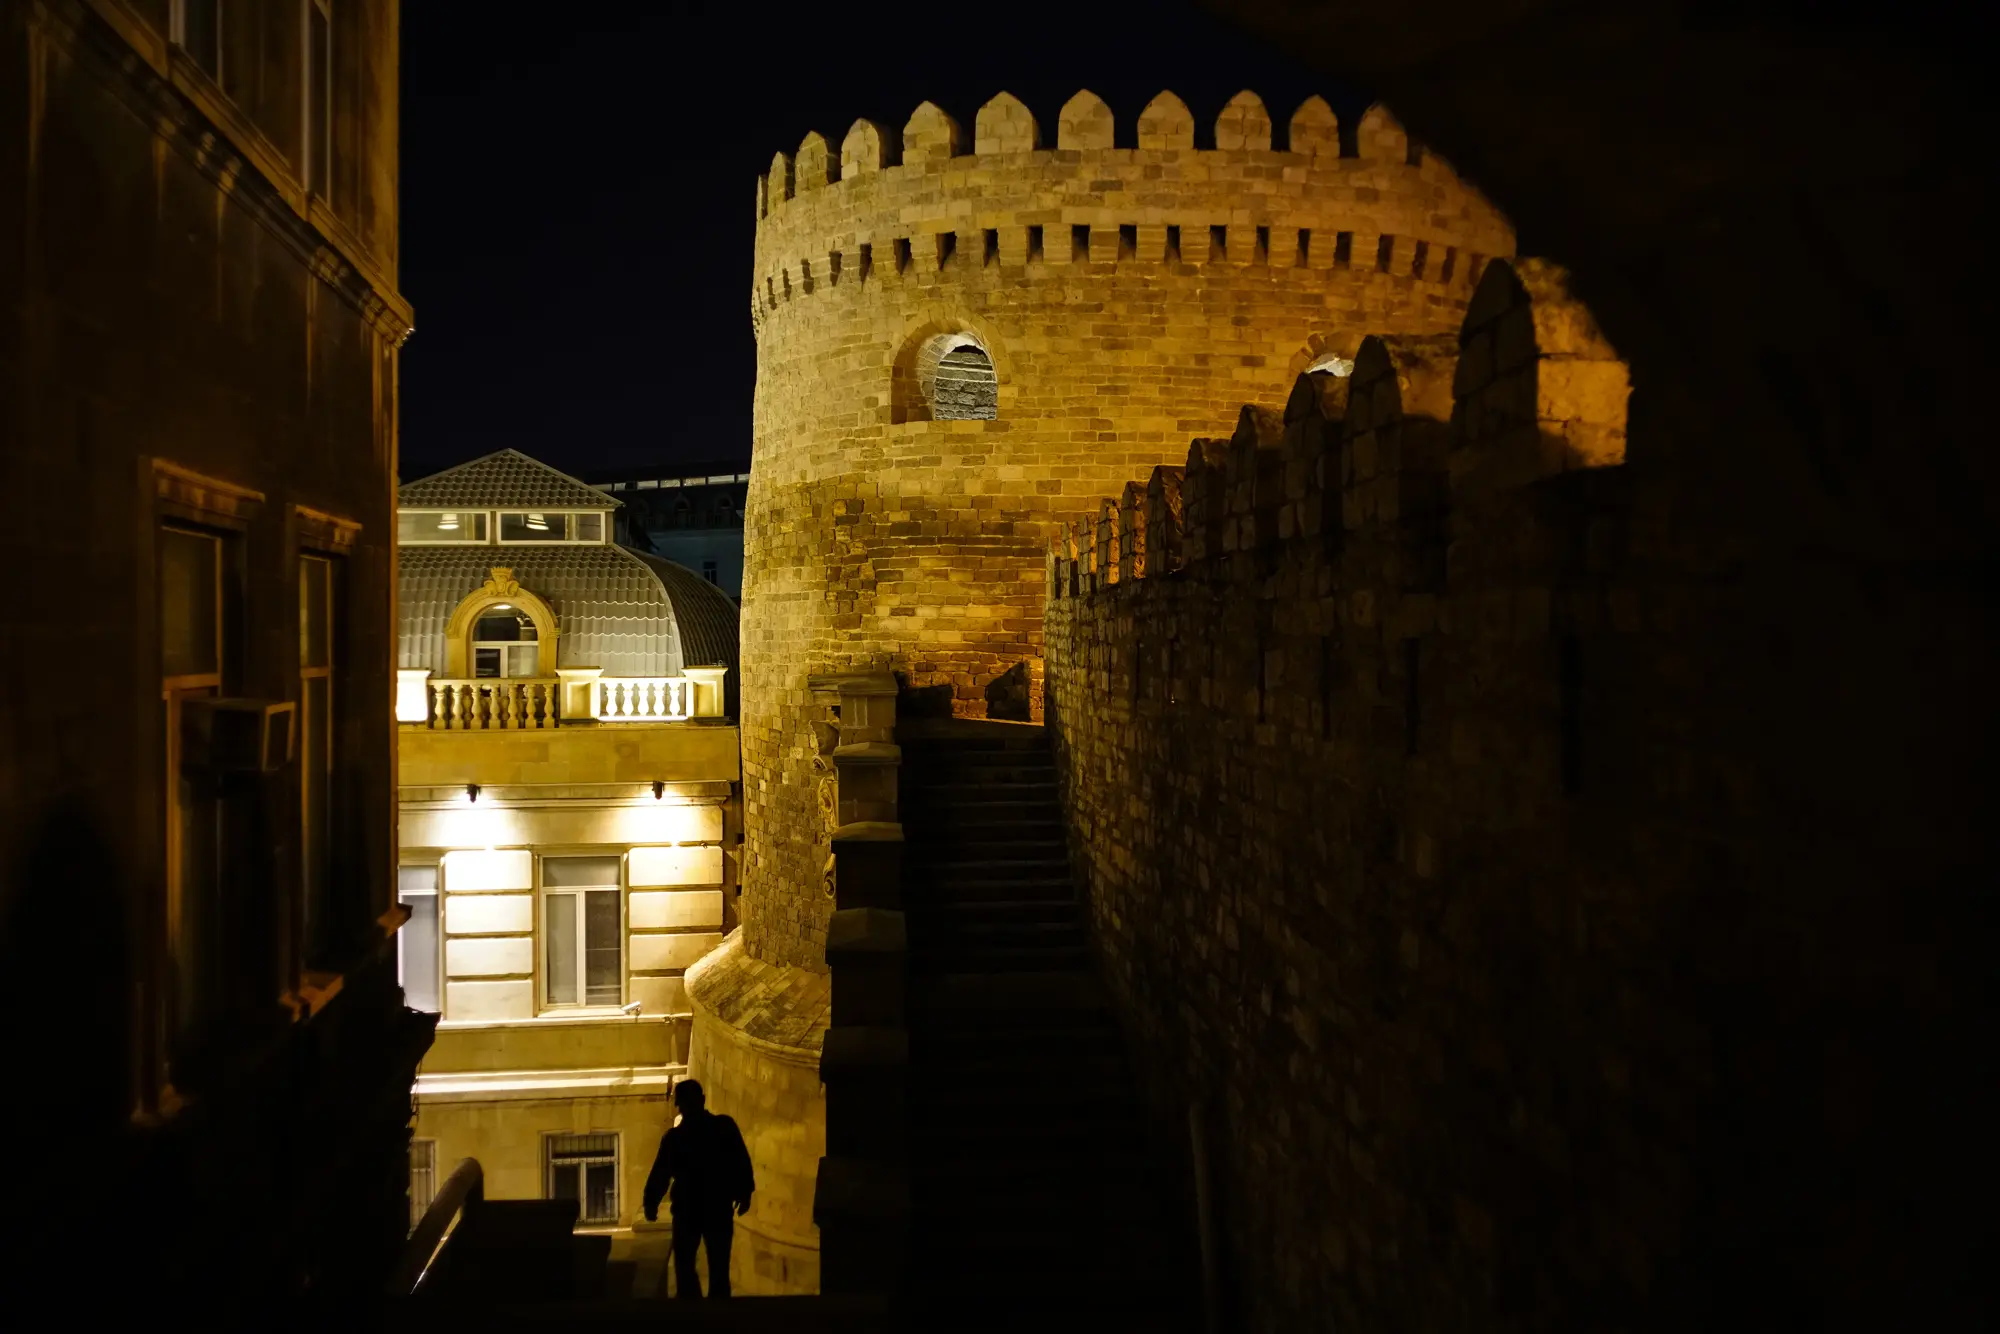
Night photos of well-known sights are also pretty cool, although you would probably need a tripod. If I don’t have a tripod with me during the night, I always look for a steady construction of some sort where I can place the camera securely – a railing, a bench or simply a rock so that the long exposure shot won’t look blurry.
In one of the next posts, I would like to talk about asking people for a permission to take a picture of them. I think by now you have probably guessed that I usually do not… 🙂
